Showing posts with label Glass. Show all posts

Friday, June 1, 2012

Glass Magnets

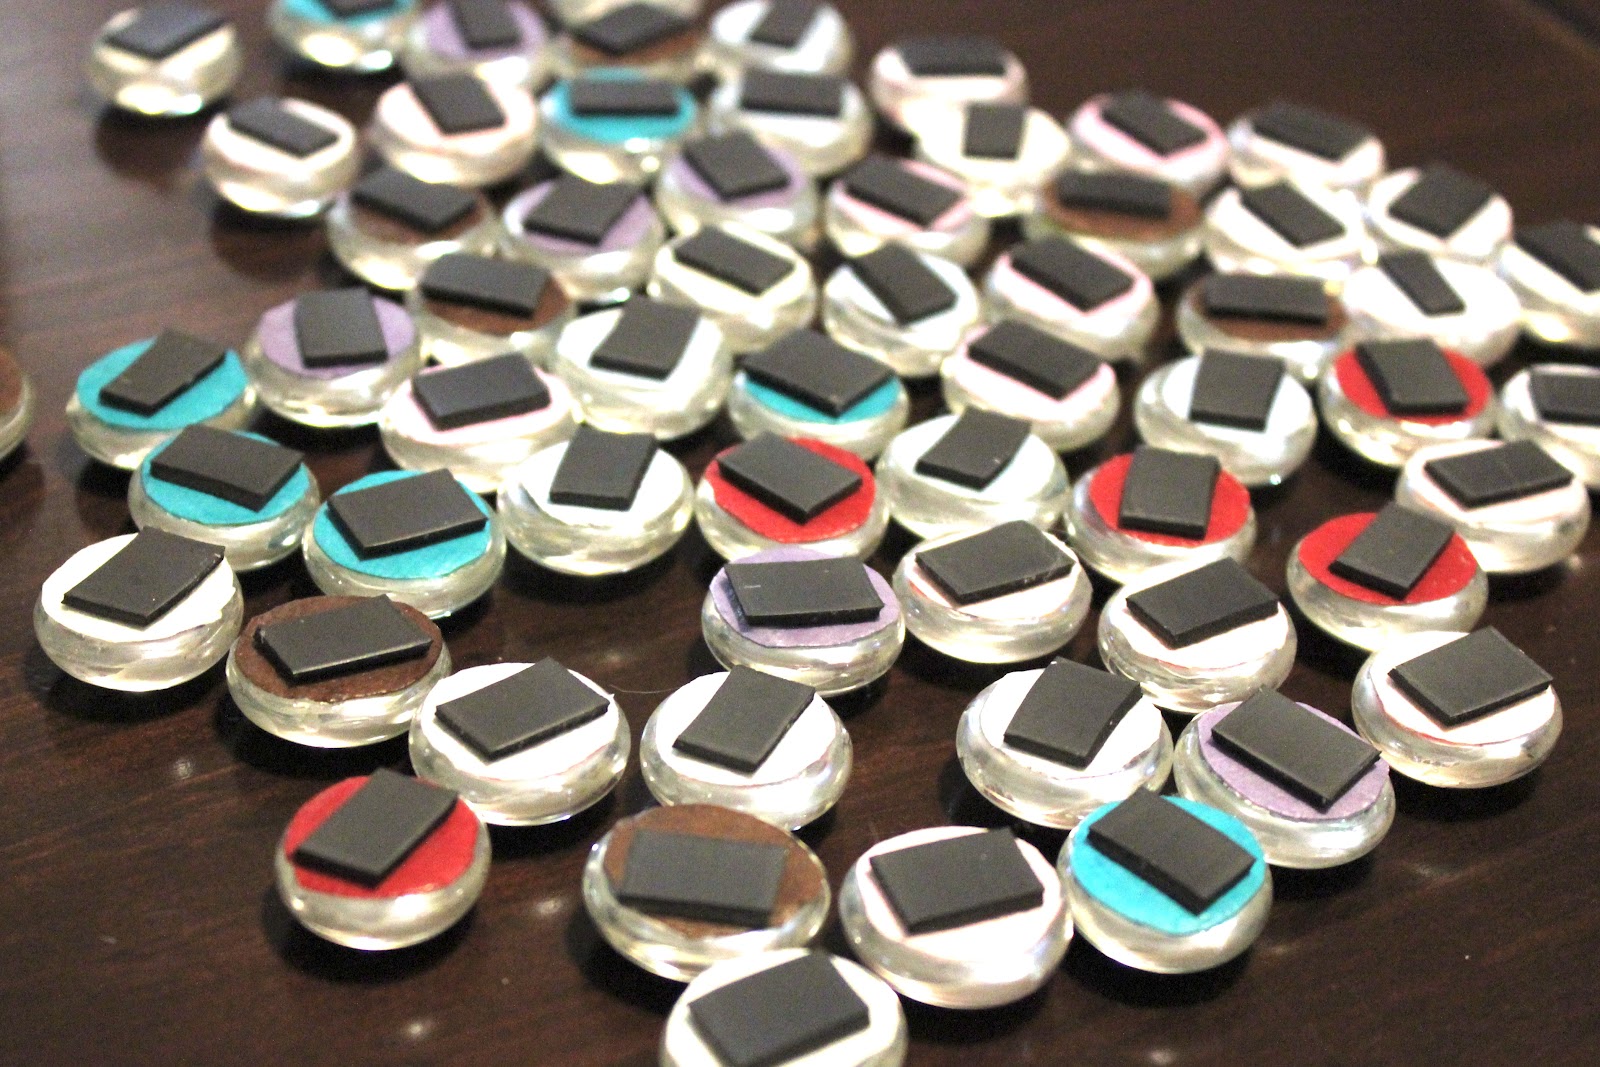
I love magnets, but the cute ones are always so expensive. I decided it was time to make my own. I headed out to my local Michael's and starting looking for what I could use. I found some glass pebbles for $2.99. I knew these were exactly what I was looking for.

I then found some fun scrap booking paper that had small patterns. I didn't want to use patterns that were too big because I was cutting out such small circles.

I sat down to some home decorating shows and started tracing the pebbles on my paper and cutting out the circles.

Then I took out my Mod Podge and glued the circles to the back of the pebbles. After they dried I trimmed off the extra paper that hung over some of the edges and put on a extra coat of Mod Podge to the back.

The last thing to do was to attach magnet strips. I chose to go for a cheaper option and not get the super magnets. They stick to the fridge fine, but they may not be able to hold big papers all by themselves.

Aren't they pretty?

These turned out amazing!


Happy Crafting,

Monday, April 23, 2012

Finally a Terrarium

Happy Monday! If you didn't get a chance, please head over to Chic on a Shoestring Decorating to see Courtney's guest post yesterday. Thanks Kate for having us on your blog!

Chic on a Shoestring Decorating


I have wanted to make a terrarium ever since we decided to move into a basement apartment. I knew that we wouldn't get a lot of light and that I don't have a very green thumb. It seemed like the perfect solution to my problems. Here is my Pinspiration.

Grow Little
CB2

I went to Michael's armed with my 40% off coupon and started looking. I found the perfect jar for my terrarium, and it even has a lid incase I want to make a closed terrarium later on. 


I added the stones to the bottom of the jar for good drainage. Hopefully I don't overwater, but I am all set if I add a bit too much.


Then I added some potting soil and my plants.


I really love how it looks. I don't have the lid on it because I don't want too much moisture inside. Hopefully I can put in a fern and some succulents. It is very nice to have some greenery in my home. Now for the real test... to see if I can keep these plants alive!

Happy Crafting,
Kristin

PS: I linked up here.


It's a Blog Party apinchofjoy.com YourSiteTitle Skip To My Lou

Thursday, April 19, 2012

Glass Etching

Remember the bottles filled with candy at the Peep Anniversary Party? Here's how I made them.
But first, some quotes to start off the day.

 I think you know where this is going. I love glass etching. I think it is amazing and beautiful. So I went to Michael's to find what I needed. I found this.
Maybe I should have read it better, but the price was right and I was in a hurry. So off I went. The directions seemed different than what I was used to. I was amazed that it didn't say it was harmful to your skin or that you should wear gloves.
I used some old frappuccino bottles.
I love these drinks and the bottles look very cute too. Here's a little tip for getting off sticky labels. Fill up a sink to cover the bottle and pour in a good amount of fabric softener. Allow to soak for a bit and then, when you come back, the label will be much easier to take off. You'll also be able to get the sticky glue off the bottle.
Now I set to work on the "etching." It took a couple of coats to even show up and you have to wait about an hour in between each coat. It took a little while. This is the end result.
The lines are crooked. I didn't have any painting tape, so I used packing tape. That was a big mistake. It was impossible to get it straight and perfect. I don't really care for how it looks, but it did the trick for our Peep Party.
I am now on the hunt for real etching supplies. Hopefully I can find something good and Mr. Firefly will let me etch our drinking glasses. I have so many ideas!
Because this project didn't turn out I thought I'd share with you some pictures that made me happy after the fiasco.
Merlin loves to help me out. Here he is helping me testing the lighting in the light box. Sometimes I take a while and he just falls asleep. I don't mind because he's just so cute!

Happy Crafting,
Kristin

PS: I linked up here.

loving this crazy life Somewhat Simple shabby creek cottage Beyond The Picket Fence The Taylor House the Grant Life
Related Posts Plugin for WordPress, Blogger...