Showing posts with label Guest Post. Show all posts

Tuesday, June 5, 2012

Guest Post: Alma Matter Logo Canvas

Today, We're participating in the Grow.Swap.Share.  Courtney is  posting over at Tiaras and Bowties about updating her front door wreath.  In return we'd like to welcome Kim from Tiaras and Bowties who is here to share her Alma Matter Logo Canvas.


Well Hello!  I am Kim; the queen of my make believe castle.  I am a decorative painter, crafter and all around DIY'er; a mommy of 2, a wife and a caregiver to my live in MIL.  My story changed 15 years ago with the birth of our first child, a daughter born with a rare genetic syndrome.  I blog over at Tiaras and Bowties, sharing my crafting endeavours as well as the joys and frustrations that make my twisted fairy tale life- mine.  You can also find me on Etsy creating personalized and custom art at Kimberly Sminkey Dsg.

I am so excited to be swapping today sharing a DIY painted canvas that would make a fantastic gift for Father's Day, Graduation, or anyone wanting to show some school spirit with all of you Brilliant Like Fireflies readers!

Alma Matter Logo Canvas!

PennStateWelcomePlaque11x14005

I started off by importing an image from the web into my new Cameo.  I completed this vinyl on the third use of my Cameo {seriously- you can do this too} it took me a few tries but Oh the satisfaction!
This was for a Penn State U die hard using the Nittany lion and the family's last name.  I placed the vinyl on my canvas in the spots that I wanted to remain white!

If you do not have a Cameo, you can easily do this by printing a photo of your logo and transferring it to your canvas by hand, then painting it.

PSUcanvas3
{white vinyl on white canvas}

PSU colors are a deep Navy blue, so I began painting the canvas with Navy acrylic paint.  I wanted a more interesting background than a flat color so I randomly slapped on a small amount of black and blended, blended, blended until the colors flowed into each other.

PSUcanvas2

Set aside to dry, and if your like me this is the hardest part!  I am SO very impatient!  I managed to allow it to almost dry before grabbing my crafting set of tweezers...

PSUcanvas

carefully, pull up the vinyl lettering to expose the white areas where the lettering blocked the paint!
PSUcanvas4

Don't worry, the paint will seep under a bit as the vinyl does not make a great seal onto the fabric of the canvas.  This is were you get your itty bitty thin little liner brush out and touch up the lines.  I filled in the white areas of the canvas with a bright white paint being careful to crisp up those edges as best as I could.  Remember, perfection is not necessary- this is a hand painted treasure, the imperfections make it beautiful!
PennStateWelcomePlaque11x14003

For more projects like this and sooooo much more, please stop by my castle at Tiaras and Bowties!


PennStateWelcomePlaque11x14001
 
Be sure to hop around and check out all of the other talented Blog Swappers participating below!



Thanks Kim for sharing here today! We hope everyone swings Tiaras and Bowties to check out her amazing blog. And don't forget to check out all of the other participants in the Blog Swap below. 

Monday, May 28, 2012

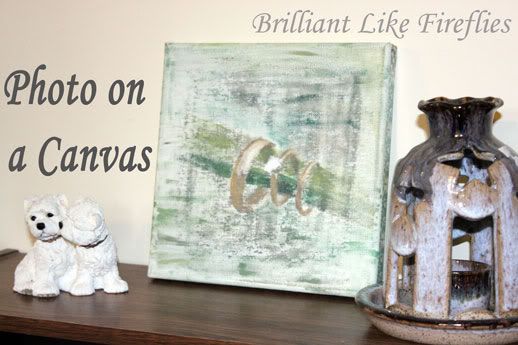
Photo Canvas

A couple of weeks ago I participated in Trading Blogs at Serendipity and Spice. I was paired up with Steph from Pumpkin Loves. In case you missed it, here's my photo canvas.

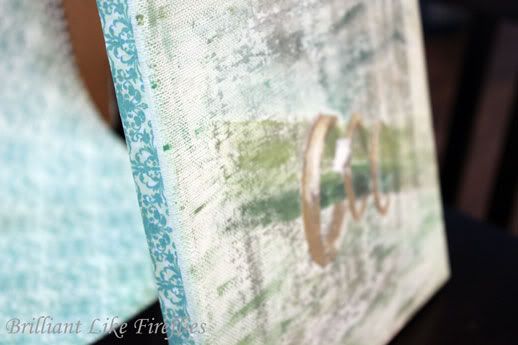
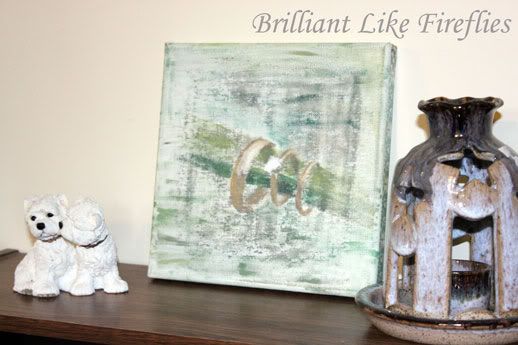
I love to make art work that looks hard, but is actually really easy. My mom gave me the idea of transferring a picture on to a canvas and then adding some paint. The end product is a beautiful piece of original art. It may look like I painted the whole thing, but I really just added a bit of paint here and there.


Step 1
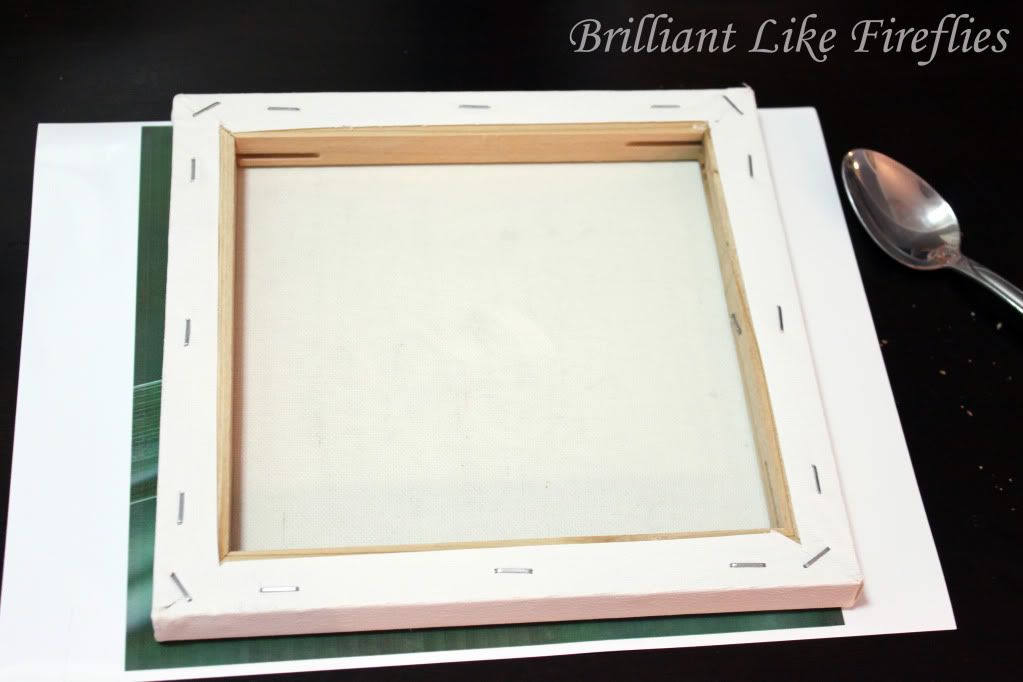
Find a canvas that is smaller than an 8.5 x 11 (mine is 8 x 8). Completely wet down the canvas. Print your picture on glossy photo paper. Immediately, while the ink is still wet, place the canvas on top of the paper. Press hard on the canvas evenly. I used a spoon, but you can use anything that is hard and flat.

Step 2
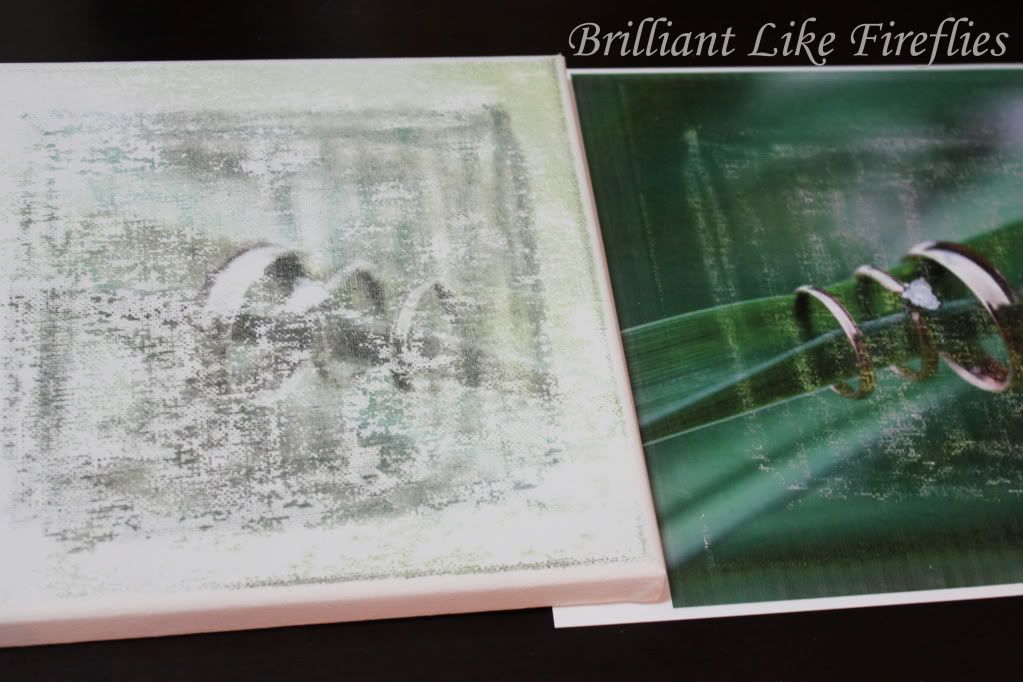
Remove the paper from the canvas. Look how beautiful this faint picture is! You could just leave it as is. But I wanted to highlight some parts and make other parts a little darker.


I got out my collection of paints and got down to work. I loved this project because I didn't have to draw anything from scratch. You just add some paint to a picture that is already there. It makes it look professional.
Photobucket
Step 3
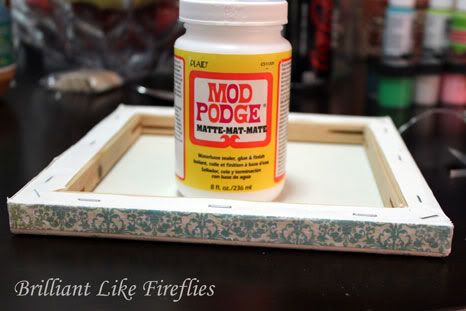
Cut strips of paper to fit the sides of your canvas. I found scrap booking paper in my drawer that matched the colours in the painting. Use Mod Podge to glue the paper on.


It was easy as that. I gave it to my husband for his office.  


Stay tuned for more this week. I took a trip to a thrift store on Saturday and I'm excited to show you some finds. Now, if I could only find some sandpaper to finish up some of my projects.....

Happy Crafting,

Saturday, May 12, 2012

Trading Blogs: Pumpkin Loves

Today we have the privilege of being a part of Trading Blogs by Serendipity and Spice. Steph, from Pumpkin Loves is guest posting here and we're guest posting over at her blog.

First off, I want to Thank Melissa from Serendipity and Spice for hosting V.2 of trading blogs guest posting party. 


My name is Steph, the hostess of  Pumpkin Loves, the blog for a little of everything. I am a public health nurse during the day and a derby girl at night as seen here , as well as trying to start an Etsy shop and make our house a home as seen here .  
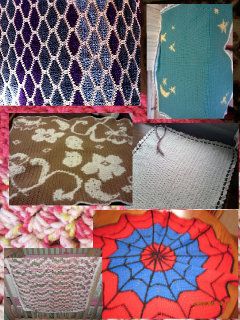
Today I wanted to talk about crocheting. I know a lot of people look at that word and tense up. What? I don’t know how to do that, is that the one with one stick or two hooks? I can’t make that.. That is too hard. Well, all of your skepticism is WRONG! Any body can crochet. Crocheting is no longer for your grandma.
Rachel at  Maybe Matilda  has a wonderful tutorial series on crocheting as seen here , I am not going to reinvent the wheel, because she did an amazing job and I could not have done a better job.
I love crocheting and find it very relaxing. (If you didn’t know this, I am a very busy body and have to be doing something at all times). 


Crocheting is something I do while I watch my favorite programs on tv. I have been crocheting since I was about 19. I learned as a child, but had no interest. I have done many projects with different varieties of difficulty. Yes, this may be intimidating at first because you can’t get your tension right or keep a straight line, TRUST ME I know how you feel.


 My very first adult sized blanket is my favorite thing I have ever made. As you can see it is a trapezoid. Don't be intimidated, just go for it.  

I hope you try crocheting; I would love to see what you come up with.

Thanks again Kristin and Courtney for having me.


Thank you, Steph. We hope all our readers will head over to Steph's blog Pumkin Loves to see what we shared there. 

Sunday, April 22, 2012

Guest Blogging

Today I'm over at Chic on a Shoestring Decorating with a guest post about updating an old IKEA side table which I use as my TV stand. Please stop by here to check it out!

And if your here visiting from Chic on a Shoestring Decorating, please stop by our 'About Us' tab to learn more about my sister Kristin and myself, and feel free to check out all of our past posts. Kristin will be back tomorrow to share a terrarium project!

Happy Crafting,
Courtney
Related Posts Plugin for WordPress, Blogger...