Showing posts with label decor. Show all posts

Monday, June 25, 2012

Nature Art

I love spring and summer with all the greenery and flowers. This past weekend I went up north a bit to a bridal shower for a wonderful girl. As I was there I couldn't help notice the beautiful gardens and big open green spaces. I wanted to incorporate these elements in some art for my home.

I raided my weed patch garden and found some leafy stems. I glued them with white glue onto the card stock I had chosen.

Then I took the papers outside and use some white spray paint. I had used the spray paint to paint my clock here. I immediately peeled off the leaves from the paper. There was just a little white glue residue left on the paper, which dried clear. I let them dry over night and then they were ready. Aren't they perfect for bringing some nature inside?

Happy Crafting,

PS: Here's where we link up.

Friday, June 1, 2012

Glass Magnets

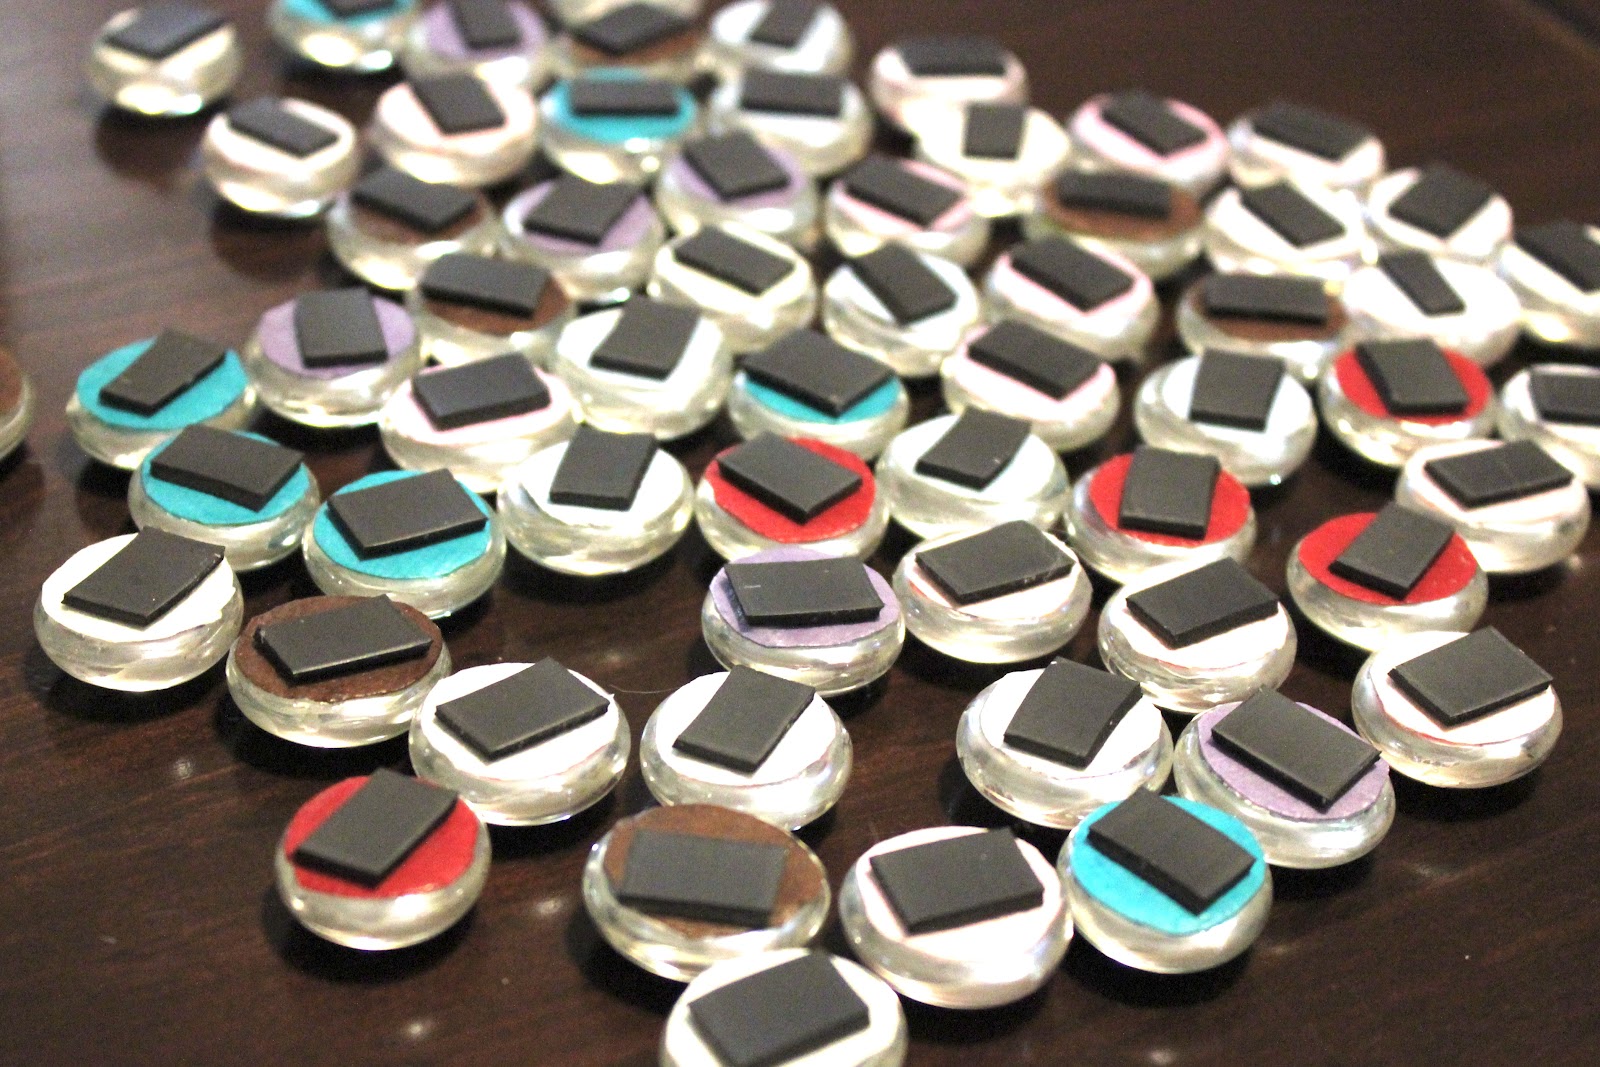
I love magnets, but the cute ones are always so expensive. I decided it was time to make my own. I headed out to my local Michael's and starting looking for what I could use. I found some glass pebbles for $2.99. I knew these were exactly what I was looking for.

I then found some fun scrap booking paper that had small patterns. I didn't want to use patterns that were too big because I was cutting out such small circles.

I sat down to some home decorating shows and started tracing the pebbles on my paper and cutting out the circles.

Then I took out my Mod Podge and glued the circles to the back of the pebbles. After they dried I trimmed off the extra paper that hung over some of the edges and put on a extra coat of Mod Podge to the back.

The last thing to do was to attach magnet strips. I chose to go for a cheaper option and not get the super magnets. They stick to the fridge fine, but they may not be able to hold big papers all by themselves.

Aren't they pretty?

These turned out amazing!


Happy Crafting,

Tuesday, May 29, 2012

Big Girl Mobile

I love to make crafts for my adorable niece. When my sister started talking about her plans for a big girl room for my niece my mind started working. I thought of the perfect big girl mobile to hang in her room.
My inspiration come from two place. First, when Courtney and I were shopping at Pottery Barn Kids we saw this beautiful mobile.
Pottery Barn Kids

And second, I found this beautiful picture on Pinterest.

Style Me Pretty
These mobiles were both perfect because they are feminine and bright with natural elements. It was also important that the mobile wasn't babyish and could be with my niece as she grew up.

I started my going for a trip to a local thrift store. I found the perfect lamp shade. I was worried that it might be too tiny, but I think that it ended up working for my project.
After I removed the fabric from the lamp shade I saw that it had lovely fabric wrapped around the top and bottom circles. I decided to keep this on my mobile.
I found a perfect flower punch for the mobile and punched out yellow and cream flowers to hang from the lamp shade.
Mr. Firefly had the great idea to hang the mobile from the tripod. This helped me as I put the flowers on the mobile. I used a needle and thread to attach the flowers to the lamp shade. I also got some glue and glued on some fake flowers to the lamp shade.
This was so easy and looks very cute. The lampshade cost $2.99, the flowers were $5.99 and I only used half of them. I was lucky to find some scrap paper for the flowers. This project couldn't have turned out better. 

Happy Crafting,

PS: Here's where we link up.

Monday, May 28, 2012

Photo Canvas

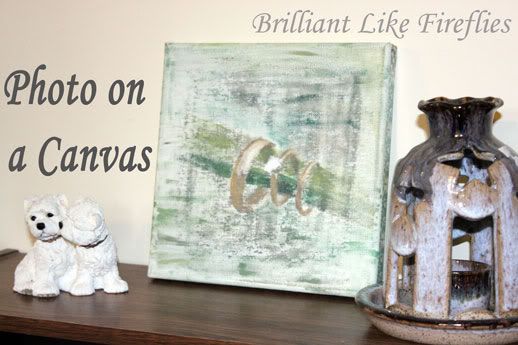
A couple of weeks ago I participated in Trading Blogs at Serendipity and Spice. I was paired up with Steph from Pumpkin Loves. In case you missed it, here's my photo canvas.

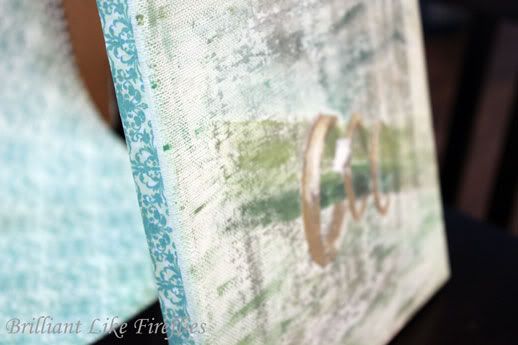
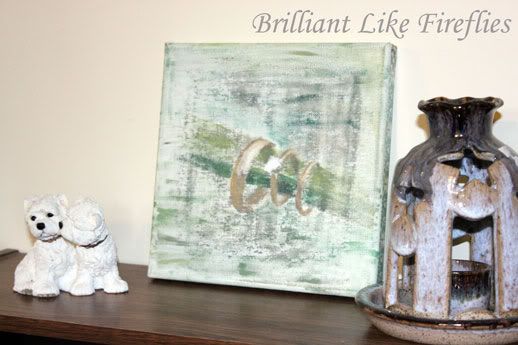
I love to make art work that looks hard, but is actually really easy. My mom gave me the idea of transferring a picture on to a canvas and then adding some paint. The end product is a beautiful piece of original art. It may look like I painted the whole thing, but I really just added a bit of paint here and there.


Step 1
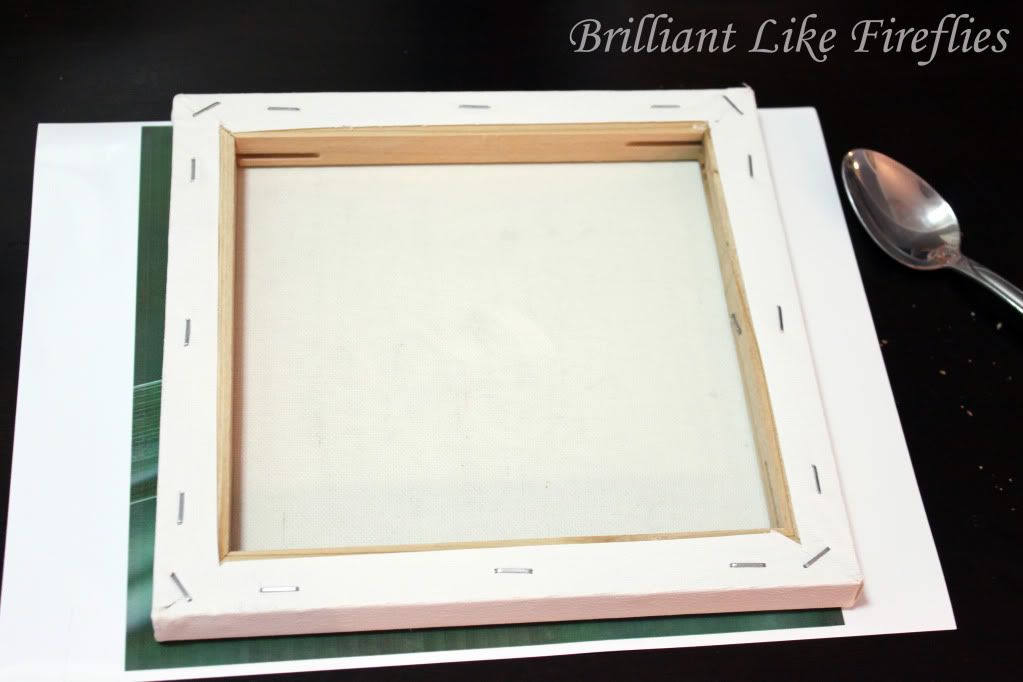
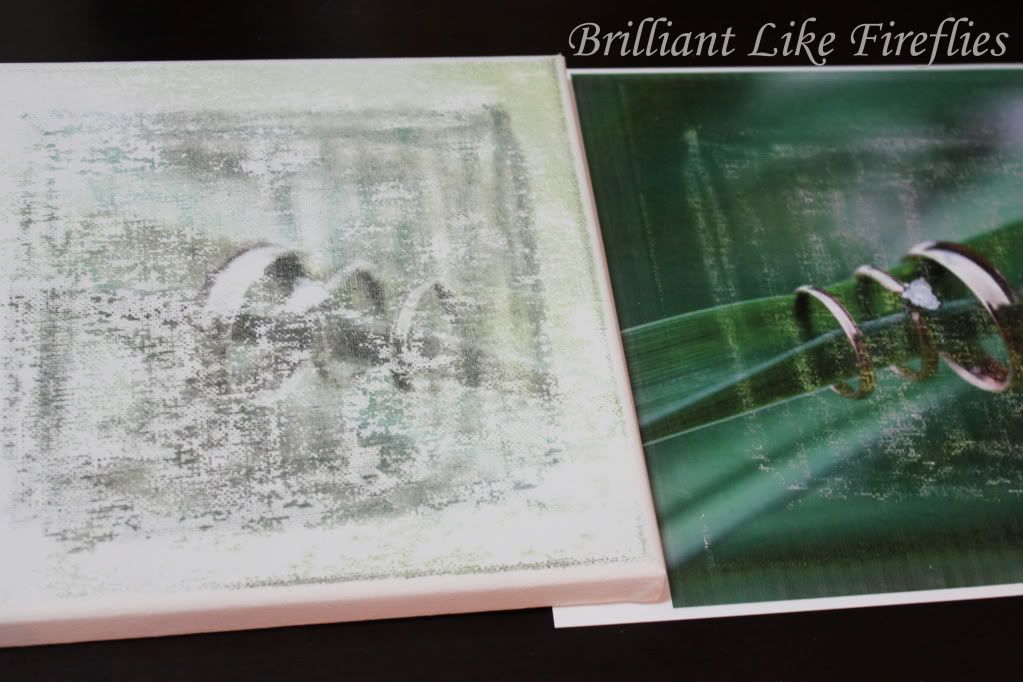
Find a canvas that is smaller than an 8.5 x 11 (mine is 8 x 8). Completely wet down the canvas. Print your picture on glossy photo paper. Immediately, while the ink is still wet, place the canvas on top of the paper. Press hard on the canvas evenly. I used a spoon, but you can use anything that is hard and flat.

Step 2
Remove the paper from the canvas. Look how beautiful this faint picture is! You could just leave it as is. But I wanted to highlight some parts and make other parts a little darker.


I got out my collection of paints and got down to work. I loved this project because I didn't have to draw anything from scratch. You just add some paint to a picture that is already there. It makes it look professional.
Photobucket
Step 3
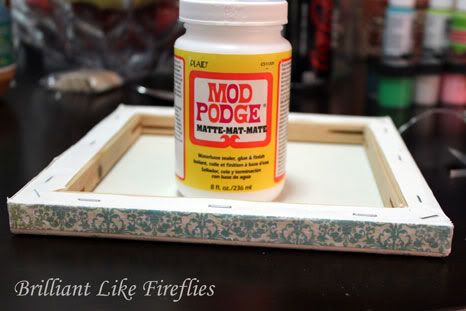
Cut strips of paper to fit the sides of your canvas. I found scrap booking paper in my drawer that matched the colours in the painting. Use Mod Podge to glue the paper on.


It was easy as that. I gave it to my husband for his office.  


Stay tuned for more this week. I took a trip to a thrift store on Saturday and I'm excited to show you some finds. Now, if I could only find some sandpaper to finish up some of my projects.....

Happy Crafting,

Friday, April 27, 2012

Office Space Update

 How do you solve a problem like an office space?


Living in a one bedroom apartment means that my "office" isn't its own separate room, but rather a corner of my bedroom. While I would have preferred to put my desk in the living room, the fact is my bedroom is just a lot bigger and more suited to sharing.
When I first moved in this was what the space looked like:


Basically there was a hand-me-down desk from my sister, plus a bookcase and a plastic storage cart (hidden on the other side of the desk). I also had to use one of my chairs from my set of 4 dining room chairs.
Today there has been a little bit of improvement. I bought a brown faux-leather parson chair on sale for $40, and found a cream coloured slipcover for it. This Christmas I also received a two-drawer filing cabinet from my parents, and a picture frame/cork-board from my sister Kristin.


Along with the cork-board I also hung up three other pieces of art, the post-card looking canvas was a gift from my mom, a framed card designed by Taylor Swift and freebie I  download from Simply Fresh Designs, which you can find here in a variety of colours.


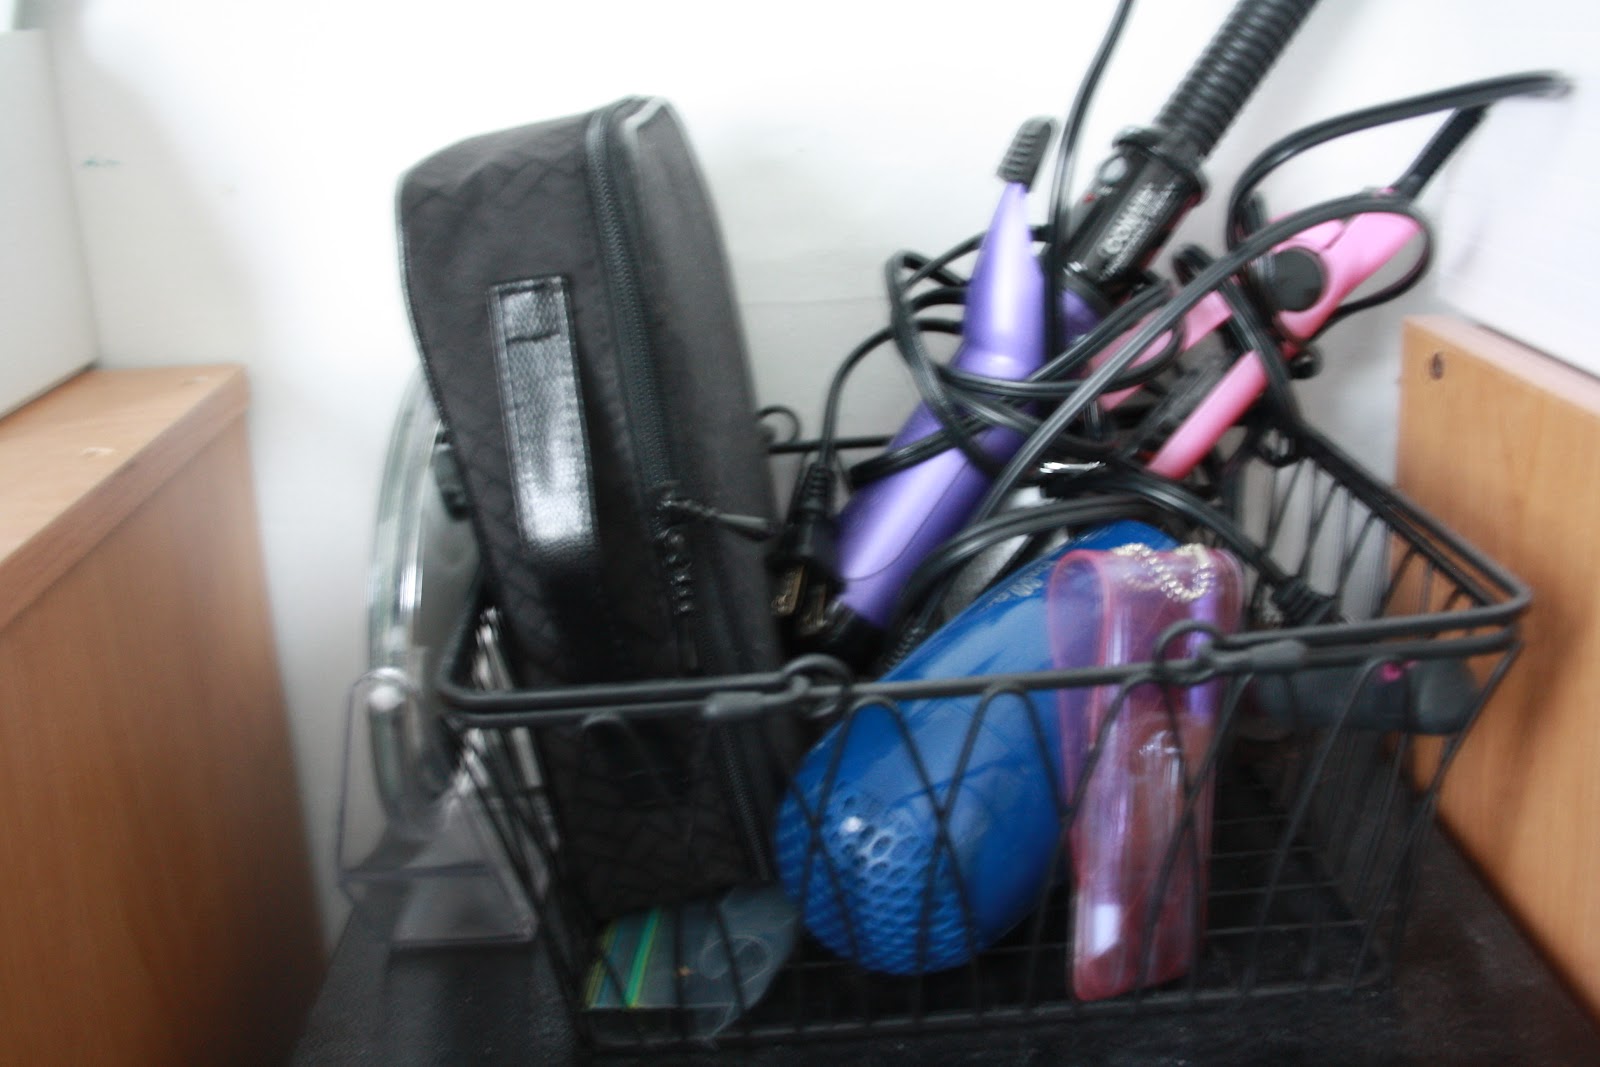
But of course it still isn't ideal, especially because I'm using it more for this blog, and because I've started to do some freelance writing for a local newspaper. Another problem with the space is that I also have to use it to get ready in the morning since my bathroom is teeny-tiny and has no outlet for me to plug in my curling iron/straightner/blow dryer.
I was able to solve the problem of storing all my "beauty tools" with a basket I picked up at Winners. It sits on top of my filing cabinet and works great to corral everything and keeps my desk clear of clutter.


But fixing up my office space overall seems to be a bit more challenging. Overall I think the greatest improvement would be a new desk.  My current desk was a free hand-me-down from my sister, and though it does the job, it is a bit to small (I would like to be able to move my printer off the bookshelf and onto the desk) and is beginning to fall apart (one ofthe wheels is broken so I prop it up with a piece of cardboard.).There a couple ideas I have floating around in my head, one of them is building one of these two desks from Ana White


Ideally my desk would be stylish yet still have a lot of storage so that I could get rid of my plastic storage cart.
What do you think, do you have any ideas to help make my office corner a little prettier and more functional?


Happy Decorating,
Courtney


*last two pictures from here


I linked up here:


Chic on a Shoestring DecoratingThe Shabby Nestfreckled laundryTruly Lovely Blog

Monday, April 23, 2012

Finally a Terrarium

Happy Monday! If you didn't get a chance, please head over to Chic on a Shoestring Decorating to see Courtney's guest post yesterday. Thanks Kate for having us on your blog!

Chic on a Shoestring Decorating


I have wanted to make a terrarium ever since we decided to move into a basement apartment. I knew that we wouldn't get a lot of light and that I don't have a very green thumb. It seemed like the perfect solution to my problems. Here is my Pinspiration.

Grow Little
CB2

I went to Michael's armed with my 40% off coupon and started looking. I found the perfect jar for my terrarium, and it even has a lid incase I want to make a closed terrarium later on. 


I added the stones to the bottom of the jar for good drainage. Hopefully I don't overwater, but I am all set if I add a bit too much.


Then I added some potting soil and my plants.


I really love how it looks. I don't have the lid on it because I don't want too much moisture inside. Hopefully I can put in a fern and some succulents. It is very nice to have some greenery in my home. Now for the real test... to see if I can keep these plants alive!

Happy Crafting,
Kristin

PS: I linked up here.


It's a Blog Party apinchofjoy.com YourSiteTitle Skip To My Lou
Related Posts Plugin for WordPress, Blogger...